In the great outdoors, there’s nothing quite like the warmth and glow of a campfire on a crisp evening. Whether camping in the backcountry, roasting marshmallows in your backyard or trying to warm up for survival, knowing how to build a campfire is an essential life skill worth learning. In this article, we will guide you through the basics of how to build a campfire, from selecting the right location to maintaining your campfire once it’s burning bright. Get ready to impress your friends and family with your newly acquired expertise and enjoy the magic of a well-built campfire.
Discloure: Posts may contain affiliate links. Purchases made through our links result in a small commission to us at no charge to you. We only recommend products that meet our brand standards based on testing and first hand use by our authors.
Choosing the Right Location to Build a Campfire
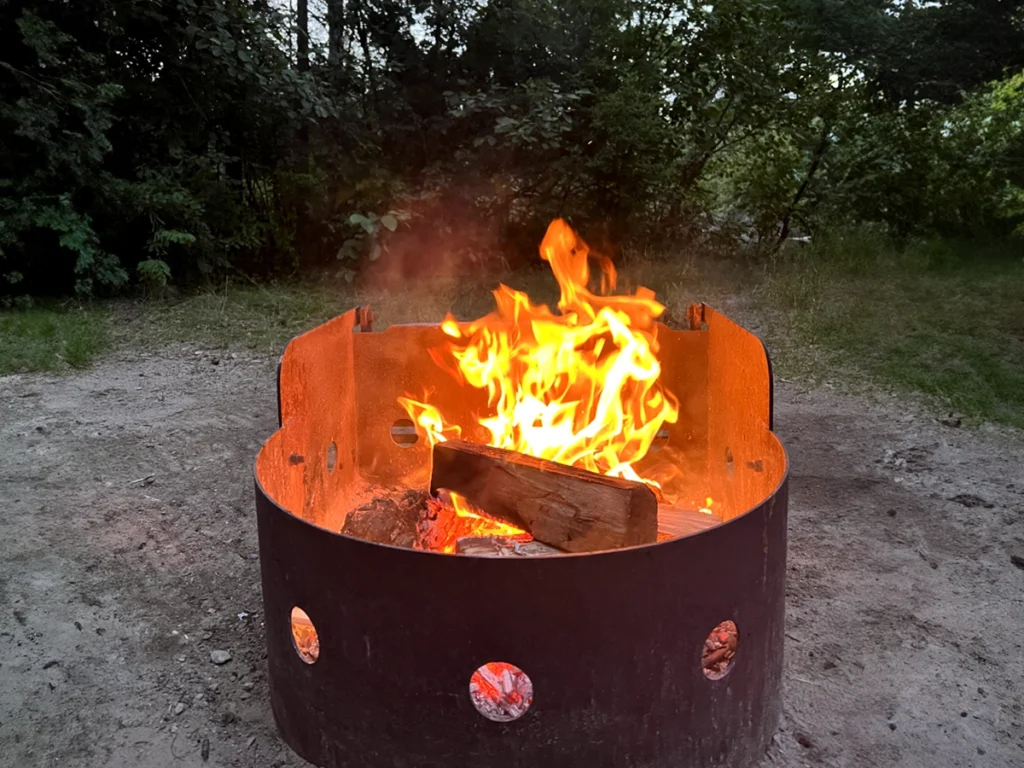
Before you can sit back and enjoy the warmth, you must choose a proper location for your campfire. An incorrect location can cause dire consequences, such as wildfires, damaged possessions or personal injury. If there are no fire restrictions or bans for the local area, look for a designated fire pit or a clearing at least 10 feet away from trees, buildings, or other flammable objects. The campfire area should also be dry. Try not to set up campfires on a windy day as stray embers can effortlessly start a wildfire. Once you have found a suitable location, it’s time to gather your fuel for your camp fire.
What Do You Need to Build a Campfire
To build a campfire, you need three basic things: fuel, oxygen, and heat. Gathering a fuel source is the first step in fire building. And, choosing the right type of wood makes campfire building that much easier. Opt for dry, seasoned wood, which burns readily and produces less smoke.
You can bring seasoned wood from home, but make a point to properly store it in a dry place before heading out on your camping trip. And, just as a precaution, make sure you check the jurisdiction’s regulations, as there may be some rules on transporting wood from home.
If you are not hauling your own wood or find yourself in a survival situation, look for fallen branches or broken-up logs lying on the ground. These will be easier to get your fire going as they are already dry. Standing trees are often still alive and should be left alone.
Using Wet Wood to Start a Fire
What do you do when you only have access to wet wood? In this case, look for needle-bearing trees, as their sap is highly flammable. Another option is evergreens, which are known to keep the rain out. You’ll be able to find some dry wood underneath their canopies. Once you have collected your kindling and wood, split them into pieces to expose the drier wood for easier ignition. Peeling the bark off also helps.
Further Reading: 7 Fire Kit Survival Essentials That You Should Carry
How To Build a Campfire Pit
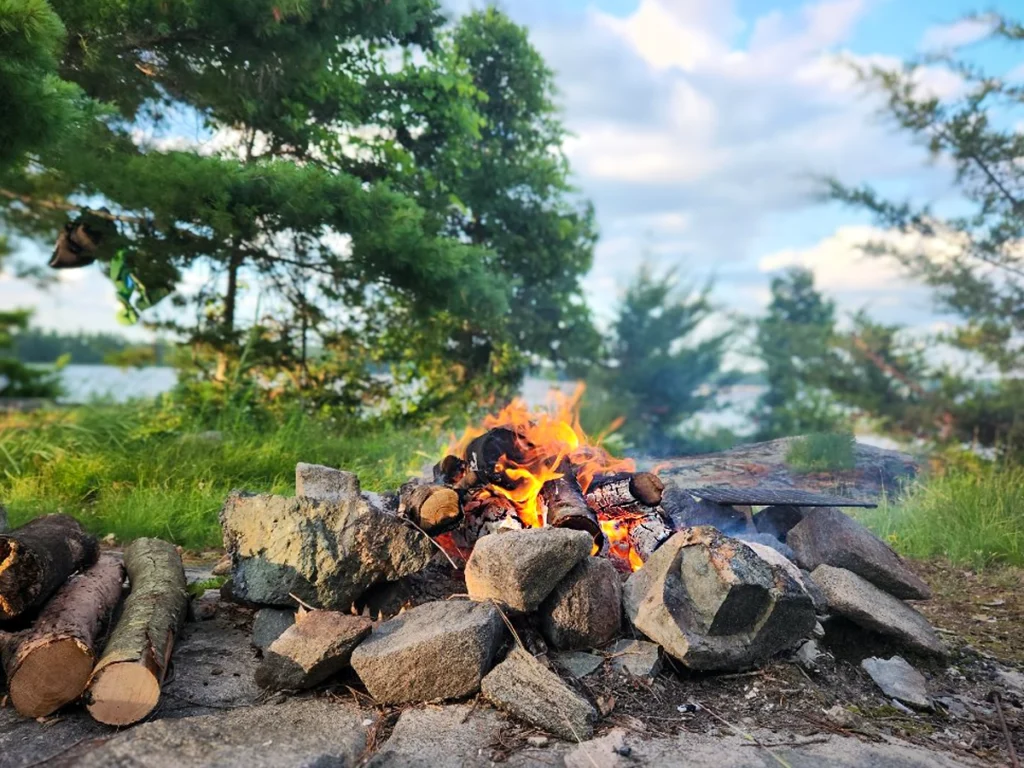
Now that you have gathered your fuel, it’s time for step two: building your fire pit. Select a flat spot, clear of debris, vegetation or dry grass and protected from wind gusts. Ideally, your campfire should be encased with rocks or a fire ring to contain the flames. If you are camping in an established campsite, look for a designated area with a fire pit already set up.
I cannot stress this enough – before building your fire, check your local regulations to ensure that fires are permitted as the fines can be steep. If fires are allowed, there might be specific guidelines for fire pit construction or firewood collection, so ensure you follow them carefully.
Steps to Building a Campfire Pit:
Once you have set up your fire pit, you’re ready to move on to fire building.
Building a Good Campfire
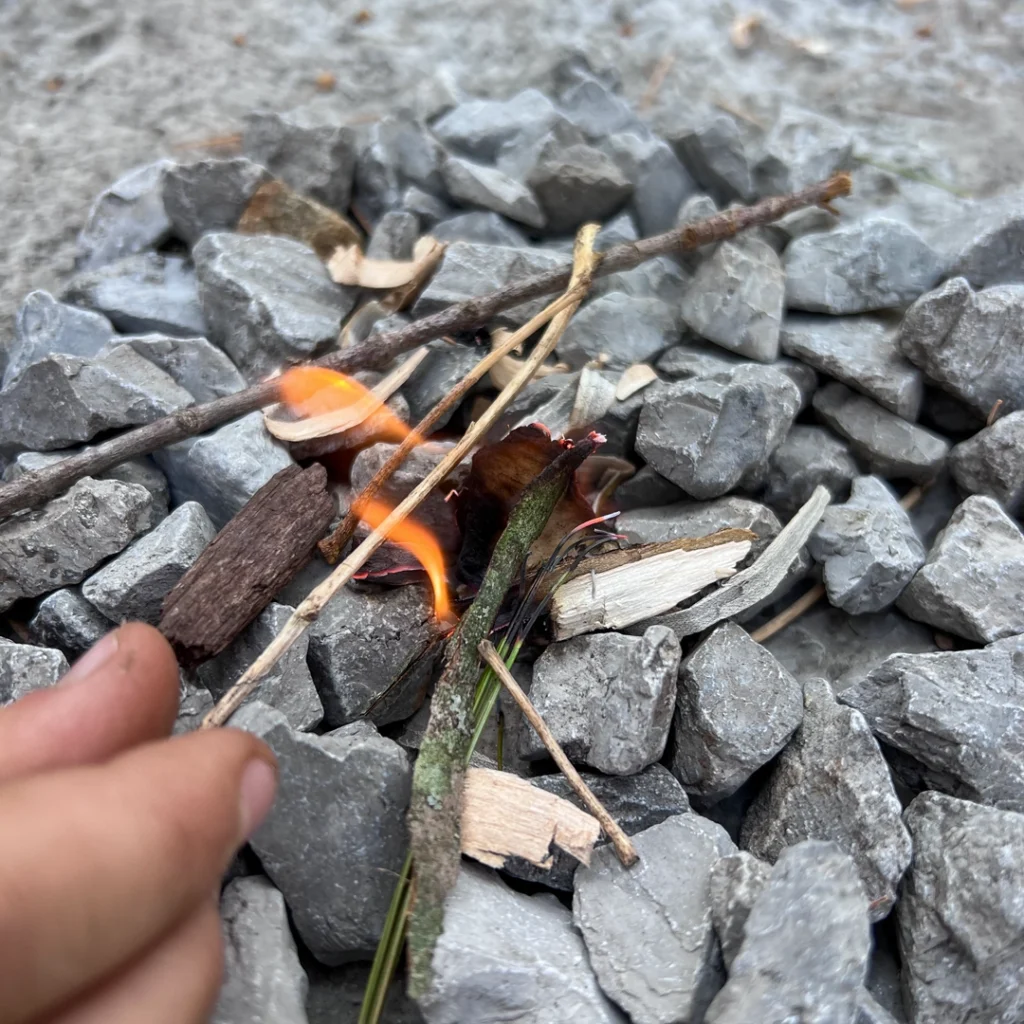
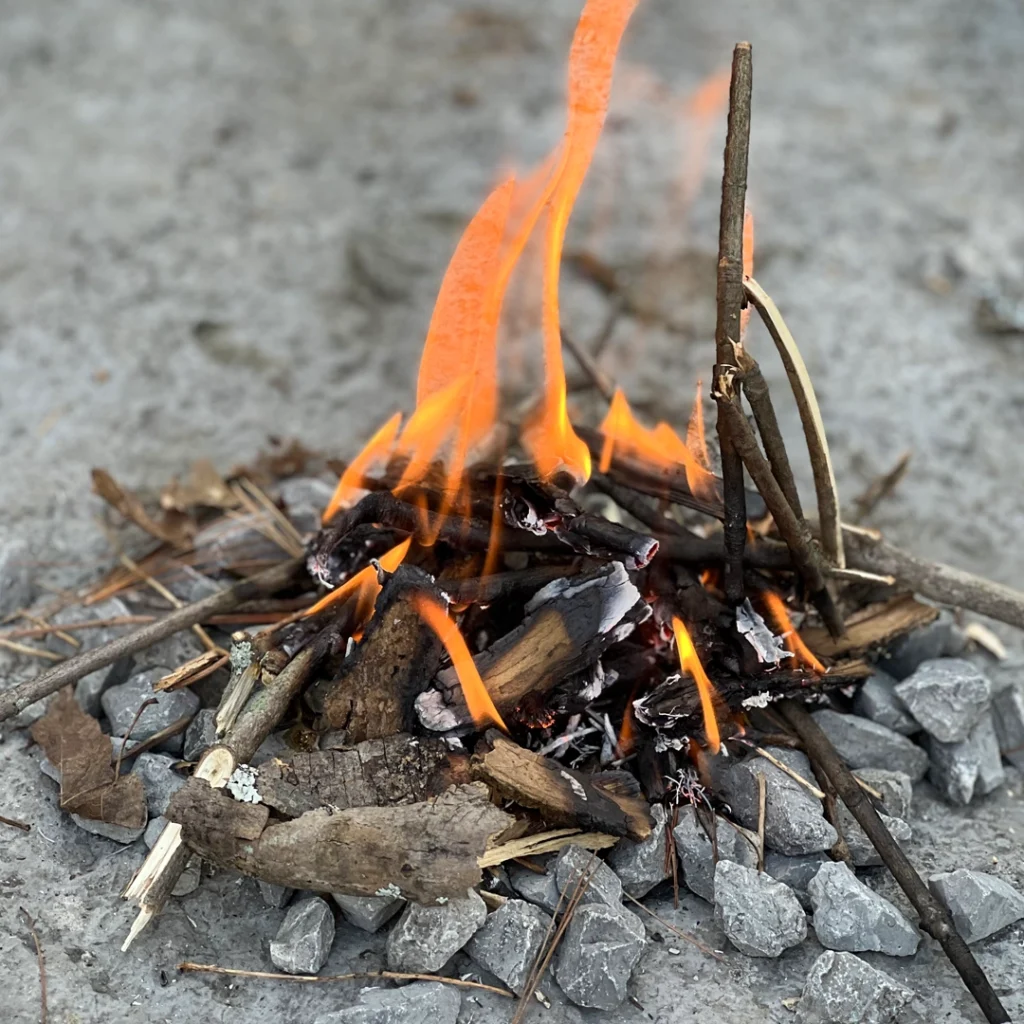
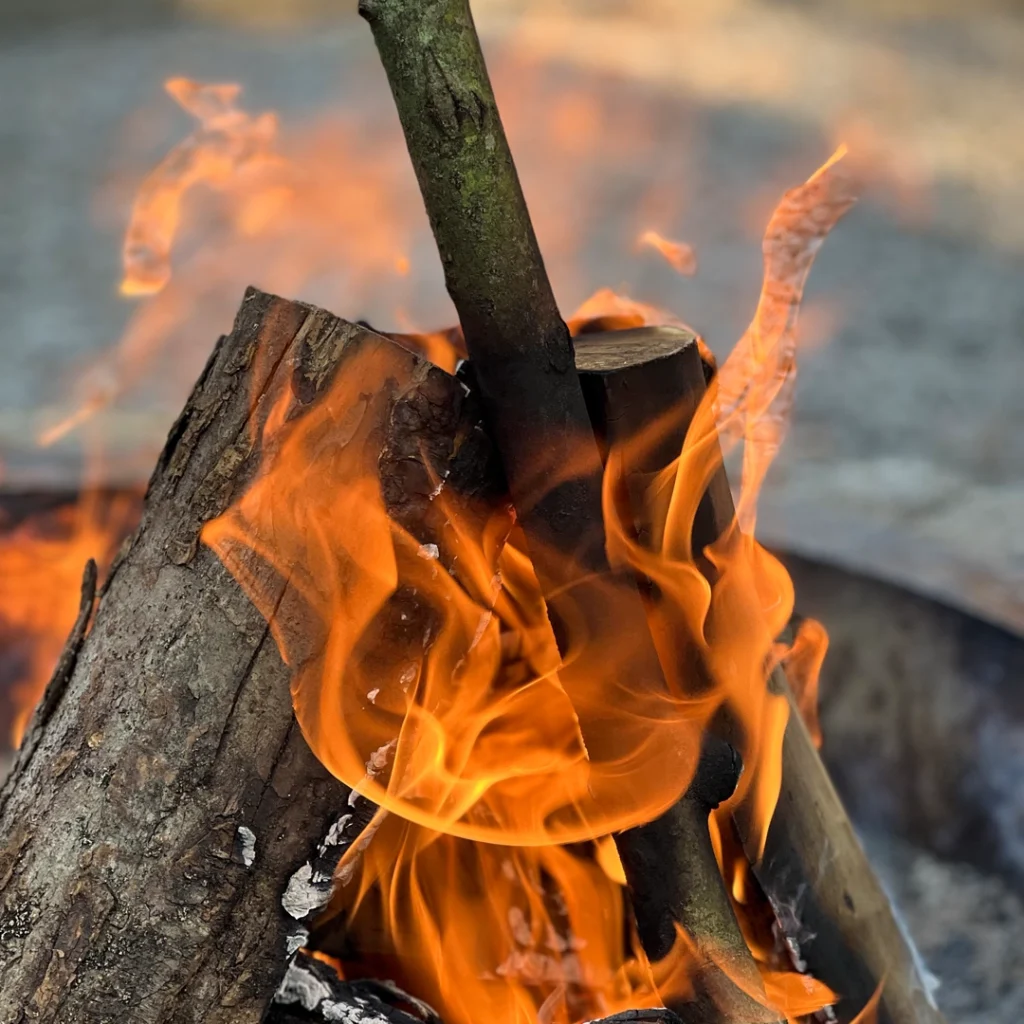
Now that you have established a sturdy foundation for your fire pit, it’s time to get your campfire going. Gather your firewood, kindling, and tinder, and arrange them according to size. Tinder examples are shaved bark, dry grass, cattail fluff, dry pine needles, leaves, birch bark, etc.
From your survival fire kit, light the tinder using traditional methods like a Ferro rod, flint and steel, or a magnifying glass. Or take the more modern approach of using waterproof matches or a lighter. Gently blow on the flames to encourage them to spread. Using a stainless straw will help achieve a more precise path to sparking as the straw acts as a bellow. Be patient and give your fire time to catch on, adding more tinder and kindling as needed. And there you have it, that’s how to start a fire camping. All that’s left is to enjoy the warmth and roast some marshmallows.
Further Reading: How To Use a Ferro Rod the Easy Way
Maintaining Your Campfire
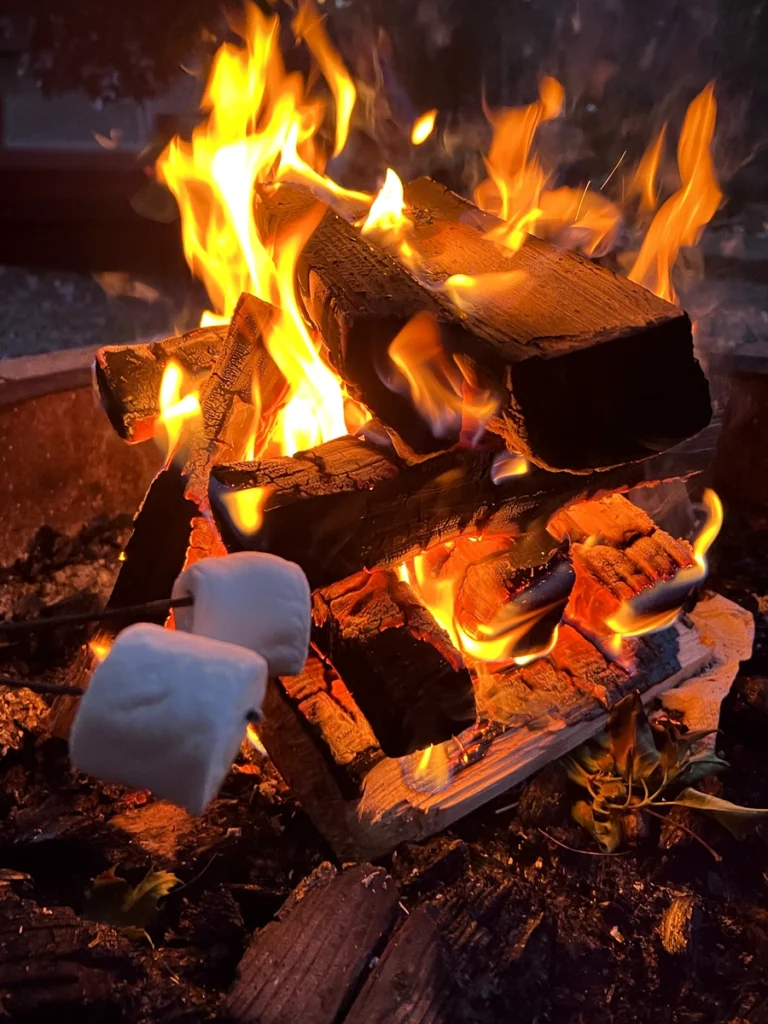
Maintaining your campfire involves periodic attention to ensure the fire evenly burns and doesn’t pose a risk to anyone or anything nearby. Periodically, move the logs around so they don’t collapse onto each other, which helps reduce the amount of smoke caused by your fire. Additionally, if you notice the fire getting too large or spreading too quickly, add water or other extinguishing agents to the fire to help control it.
When it’s time to extinguish your campfire, use water, sand or dirt to thoroughly douse the flames and stir the ashes until they are cool to the touch. Even if you think the fire is completely out, you should always double-check to ensure that there aren’t any hidden embers or hot spots. Fires tend to re-ignite if not put out properly and by properly, I mean fully drenched campfire.
Building a Campfire Safety Tips and Recap
There are a few safety tips to keep in mind regarding campfire safety.
- Always check the local regulations and guidelines. Certain areas may have fire restrictions or bans due to dry weather conditions or potential hazards.
- Build a campfire in a safe location. Choose an area clear of dry brush, overhanging trees, or other flammable objects. This simple step will help to prevent the fire from spreading and causing damage to the surrounding environment.
- Don’t use aerosols on the fire or near it.
- Keep your campfire small.
- Ensure a safe distance from the campfire to keep children and pets safe.
- Never leave a campfire unattended, even for a few minutes. The wind can quickly pick up embers and cause the fire to spread.
- Have a shovel and bucket of water nearby in case of an emergency.
- Extinguish your fire completely – use water or other extinguishing agents to douse the flames and stir the ashes until cool. Remember, even a tiny ember can cause a fire to start!
By following these simple campfire safety tips, you can enjoy making s’mores or the warmth and comfort of a campfire without putting yourself or the environment in danger.
Concluding the Basics to Build a Campfire
Whether a fire is needed to make memories or for survival, knowing how to build a campfire is an essential life skill, especially for those who adventure the outdoors. Practice these simple fire-building basics! Once you have honed your campfire-building skills, various campfire layouts can increase the duration of your fire, which we will touch on in a later post.
Remember to choose a suitable location, gather and prepare your fuel, and prioritize safety. So go ahead and put your new skills to the test and make a blaze that will warm your memories for years to come.
What’s your favourite method of building a campfire? Are you the fuel, lighter type, or do you prefer the tinder, Ferro method?
Thank you for reading my post! Please consider sharing this post on how to build a campfire, and don’t forget to follow for more outdoorsy tips!
Bookmark this post on Pinterest for future reference!

NICE post 💓💖💚
Blessed and Happy day 🌄
Greetings from 🇪🇸
I hope visit or follow my blog and GROW TOGETHER 🫂 thanks 🌈