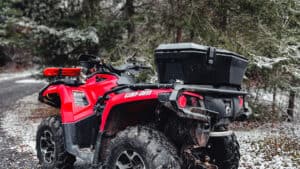
Yes, it’s finally that time of year to whip out the summer toys! Or maybe you are breathing new life into a machine that’s been sitting around for a while. In un-storing your ATV, we’ll show you the steps to take BEFORE you start your baby back up. And some great tips to get it running well again. Let’s dive into the 10 steps to ATV maintenance.
Discloure: Posts may contain affiliate links. Purchases made through our links result in a small commission to us at no charge to you. We only recommend products that meet our brand standards based on testing and first hand use by our authors.
- #1. Get Your Battery Charging!
- #2. Check the Air Box BEFORE Starting / Cranking
- #3. Let’s Deal With Fuel When Un-Storing Your ATV
- #4. Check Your Fluids
- #5. Tires & Suspension
- #6. Start it Up: The Best Part of Un-Storing Your ATV
- #7. Listen for Sounds, Watch for Feel When Un-Storing Your ATV
- #8. Check Your Lights, Insurance, Accessories
- #9. Wash, Maybe Even a Wax:)
- #10. Don’t Forget Your Helmet
- Un-Storing Your ATV
#1. Get Your Battery Charging!
The first step in ATV maintenance is battery charging. We always disconnect the battery leads, even if we leave batteries inside a vehicle for storage. Right? I hope so! When sitting out in the cold, the cold itself does help slow down the rate of discharge, and without the attached leads there should be no outside source of drain. Nonetheless, you will find ATVs with a dead or low battery in the spring.
It’s not good for batteries to sit in a discharged state, especially over time as the battery will eventually go bad. I pull the batteries from stored vehicles and keep them on a wooden bench in my garage. By the way, never store them on concrete. I also make a point of charging them once a month during the off-season.
Don’t Boost It
You can do whatever you want, but a fast charge can damage a battery. My grandfather explained it like this – the sudden heavy rate can twist the plates inside the battery. Then all the goodies start falling out, shorting things out internally and causing a bigger problem. Fast charging is great for auto shops that need to move cars out quickly.
Boosting will introduce a big current to a dead battery. Once running, the ATV’s stator will come on and charge at max. Don’t get me wrong, I boost things all the time. But when we are in the comfort of our home and un-storing our ATV for a new season, take the time to give it a trickle charge and bring your battery’s charge back up gently.
For trickle charging, I use the Optimate 4. It’s fully automatic and has a save mode that pulsates to help awaken stubborn or seriously drained batteries. Regardless of what the charger manufacturers claim, nothing will restore an inadequate battery. However, this charger brings back borderline ones and buys you some time before swapping for a new battery. At a 1 amp charge rate and with intelligent programming, the Optimate 4 is as smart and gentle as it gets. It’s just slow – this is why it’s step 1 in our spring ATV maintenance guide.
#2. Check the Air Box BEFORE Starting / Cranking
Another vital ATV prep step is checking the air box. I can’t tell you how often the mice or squirrels wreak havoc on equipment that’s in storage. These little buggers manage to get in everywhere! Truthfully, I haven’t incurred any damage from them chewing wires, but we all know of those horror stories. What I do find is cracked, empty nutshells. I also find twigs, leaves, chewed insulation or whatever nest material they use, which is often buried in the airbox, and it’s going right into your intake if you don’t get rid of it! Check it before starting, or it can wreak havoc on your engine.
While you’re in there, you might as well check the air filter. If the filter is dirty, you can pull it and blow the filter out with compressed air. Just do it far away from your machine. Lacking compressed air, you can vacuum the filter before putting it back in. If it’s extremely dirty, clean it as best you can and throw it back in for your first ride, making a note to change it out sooner rather than later.
#3. Let’s Deal With Fuel When Un-Storing Your ATV
There are different theories on how to handle fuel when it comes to storage. If your machine has a valve or easy access to stop the flow of fuel, hopefully, you shut that off and let the machine idle out before storing. Doing so helps prevent gumming in the carburetor or injectors. If you don’t have that luxury or everything is hard to access, you can do what everyone else does and use a stabilizer.
I always put a small amount of Startron Enzyme Fuel Treatment into my gas cans. It ends up in my machines with a steady dose. Just because of the nature of these machines and their off-and-on use, I like that this product cleans and acts as a fuel stabilizer. The fuel treatment resolves most engine issues we encounter because of the ethanol in our gas. It’s a fantastic product. In my case, adding it has brought power and smooth idle back to many of my machines.
Before storing your ATV for the season, always try to add some stabilizer to your tank – it works wonders. Make sure you run some through as well so it gets in everywhere. If you didn’t, don’t sweat it too much, you know for next time. When un-storing your ATV, adding a cleaner right now is a good idea as it will help remove any gumming.
Fill It Up!
If you have any room in that fuel tank, adding some fresh fuel will certainly help, if it’s already full, even better! Let me explain. Honesty, I have NEVER had any water issues with my engines. My routine is to keep the tanks full. Why? Because the tank is vented. Any airspace allows air in and out, and with air comes moisture. Warm daytime air absorbs moisture only to get cold at night and dump it out. Temperatures are always going up and down. If air is in your tank, when it condensates, it’s dropping water, which ends up in your fuel. Not good! It’s not a big issue in the short term, but if you have a vehicle in storage, over time, if enough water accumulates, you may be draining that tank in the spring or replacing fuel filters.
Some people may argue about this, but I find fuel sitting for a year is not a problem. Then again, mine is stabilized. If your tank has years old fuel, you may want to look at dumping it.
#4. Check Your Fluids

Number four on our spring ATV prep – checking your fluids. Run an engine without oil, and it’s toast very quickly. It only takes a minute to check your oil level! The aim is to change your oil and filter once a season unless you use it heavily. Now that we are un-storing your ATV, it’s an ideal time to look at an oil change if you didn’t do it before storaging your ATV for the season.
Any time, the words oil change come up, it automatically triggers the words “grease nipples”. If you haven’t already done so, snoop around under your machine and see if it has any grease nipples. It is best to get the grease gun out if it does. Also, lube the drive sprocket and chain if your machine has one.
While you are under your vehicle so to speak, check for worn or loose suspension parts. I like to oil the bottoms of the coil springs as it helps remove squeak as they rub against the plates they sit on.
Coolant. Yes, it has a rad! There are still some air-cooled machines floating around, but most off-road machines nowadays have radiators. That means you should check your level and consider changing your coolant about every 4 years.
Don’t forget to check or top up brake fluid, if applicable.
#5. Tires & Suspension
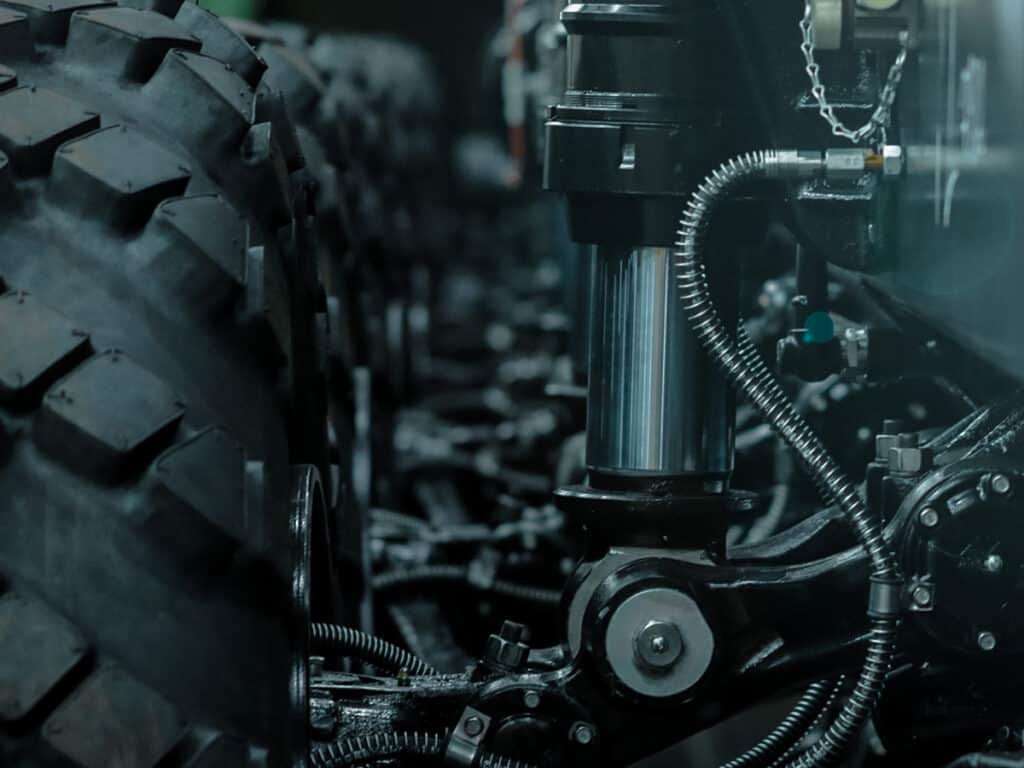
Before taking your ATV for that first seasonal ride, check your air pressure. We should be doing this regularly, but since this post is about un-storing your ATV, this one is most important. Not only do we want to be correct with pressures, we want it nice and even across the front and back. Please don’t guess what the correct pressure should be, ensure you check your manual. My one machine calls for 5 psi, while the other vehicle is 16! That’s a big difference, and it can affect the ride if it’s off.
For any tires not holding air, you can pull the tire with a rim and hit up your local tire shop. Quite often, they can put an inner tube in it and get you back up and running cheaply and quickly.
If your ATV is getting up there in years, a quick once-over of tire condition wouldn’t hurt either. If there is a lot of cracking in the rubber, it may be time to price out some new tires. Most people don’t carry a spare, which is not fun when you have a flat in the bush.
Last but not least, in this step, double-check your lug nuts for the correct torque. Also, check axle nuts and cotter pins. With your vehicle parked on a level surface, ensure that the machine is sitting nicely and flat. If it’s not, you’ll need to go back and pay close attention to your suspension as something is loose or out of adjustment.
#6. Start it Up: The Best Part of Un-Storing Your ATV
Yes, it’s that glorious moment you have been waiting for. With most of your spring maintenance steps completed, you are almost ready to hit the ATV trails! So let’s see if the ATV starts and runs ok. Most often, the ATV will, but you need to remember it has been sitting around for a while. You will want to ease your machine back into service. After starting, let it gently warm up and come up to an operating temp. We want to get things moving again, lubricated and get any rust out of cylinder walls, exhaust, etc. The only advice here is to baby it for a day. That’s the general norm when re-instating any engine that’s been sitting around for a while.
As the next few days go by, watch for a nice smooth idle, no lack of power and easy starts. Failing any of these, it might be time to look at spark plugs. I recently changed plugs in an old sled, which made a worldly difference. I haven’t needed to do the same with any other machine in the fleet. Your spark plugs will tell you when they’re tired, and hard starting is a definite sign of trouble. Such was the case on the sled.
#7. Listen for Sounds, Watch for Feel When Un-Storing Your ATV
Since your ATV has been in storage, you might get some squealing from your brakes, which are probably just rusty. They might be overly grippy for a little while, so don’t panic over that either. It should all go away with use, yet another reason to go easy for a while. Listen for anything unusual for your first few rides – you’ll know if something is wrong somewhere.
If anything feels loose, you may have a problem to deal with. Generally speaking, looseness in the wheels is usually a sign of a ball joint. You’ll also want to pay attention to steering, making sure there is no free play.
#8. Check Your Lights, Insurance, Accessories
At this point, you probably have had a little ride under your belt. So let’s go back and check your lights. You don’t want to find out the hard way if you are out on the ATV trails and the dark sets in…
When un-storing your ATV, it’s a good idea to ensure that your insurance slip is tucked away somewhere on the ATV. It may be a new year from an insurance standpoint.
All your accessories should be in good working order as well. In How to Choose the Right ATV, we covered some must-have accessories for ATVing. Read my post if you don’t carry things like a tree saver.
While not exactly an accessory, most machines use belts instead of drive chains. In general, belts are getting better. However, it’s still a good idea to have a spare belt. Ideally, you can hide one in your machine and take it everywhere.
#9. Wash, Maybe Even a Wax:)

And, lastly, in our un-storing your ATV guide, a wash! I know, it’s going to get REALLY dirty anyway! The longer dirt sits on things, the more it embeds itself – especially true with painted surfaces. If you want a shiny ATV, you need to wash it every so often. Since we are un-storing your ATV, it’s been sitting around for months, and there is no better time than now to give it a once over with soap and water. If you love the machine, you might even give it a bit of wax and protect it from all the dirt that the ATV will encounter!
If shine doesn’t motivate you, there is a mechanical reason to wash. After hitting some mud, your rad will be pretty plugged on the outside, and it can cause overheating. The country cleaning (aka pressure washer) is your best friend for mud. DO NOT power wash a rad unless you feel like replacing it. I learned a lot of lessons regarding overheating and radiator replacement from a friend who didn’t know better. It cost him enough time and money for me to remember to tell you not to make the same mistakes.
#10. Don’t Forget Your Helmet
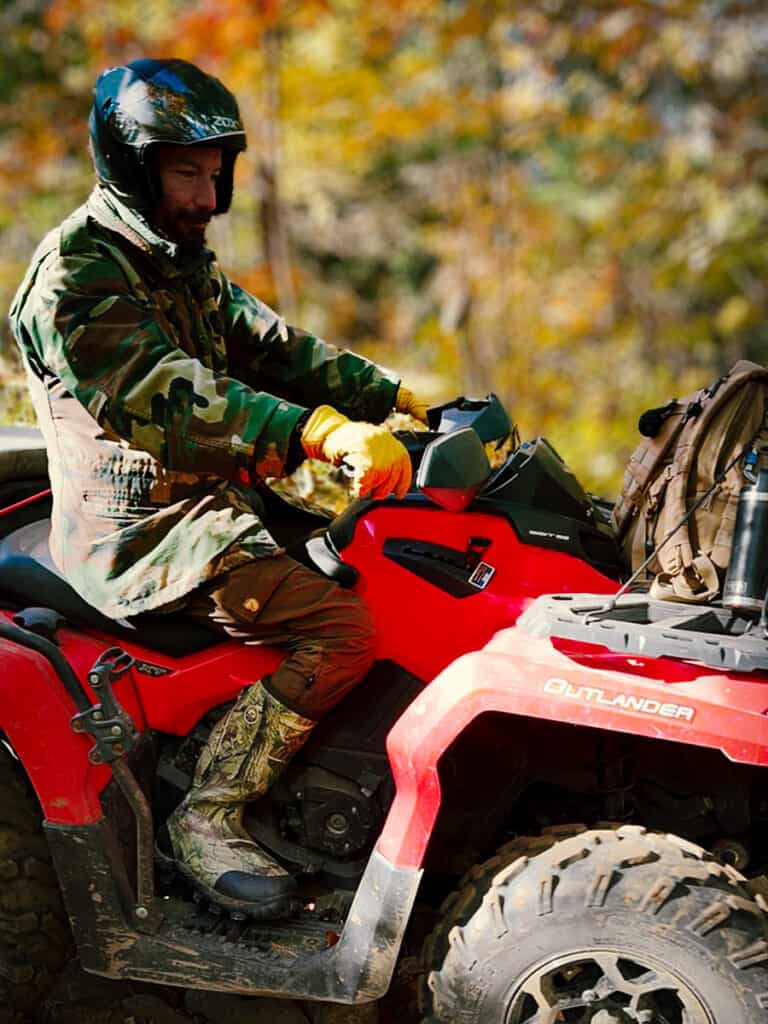
Yes, I know! I hate helmets, just like the next guy, which is why I use this particular helmet. The law makes us wear these, but for what it’s worth, it’s for our own good.
There are so many styles of helmets out there, but the ZOX Journey has some features I can’t live without. One particular feature is the flip-up visor, which is my favourite. You can drop it for high-speed runs and open it back up for that airy feel when cruising along ATV trails. When the visor is flipped, it gives unimpeded access to your face. And, just for clarity, as it’s hard to see in the photo, unlike the typical motocross helmets, there is nothing in front of your chin on this one. That makes it super easy to sip on any drinks along the way. I used to smoke, and for the small handful of smokers still out there, it’s a godsend not having to take the helmet off for a quick puff.
The ZOX Journey has a ratcheting, quick connect and release system. Ie. it only takes a second to buckle up or take off. It removes 90% of helmet nuisance, as nothing is more frustrating than a piece of fabric and 2 steel loops. This clip is also great for anyone with helmet claustrophobia or for kids, as it gives them no excuse not to buckle up.
Un-Storing Your ATV
And, there you have it – 10 steps to un-storing your ATV for the spring ATV riding season. I hope that you found the post helpful. If you have any questions or suggestions, please feel free to let me know in the comments section. Remember, life is an adventure, so make the most of it! Don’t forget to pack all the necessary gear, stay safe, and have fun exploring the world around you.
Bookmark this post on Pinterest for future reference!
