Water is abundant, especially in Canada, with its vast lakes, rivers, streams, and marshes. It’s vital for survival—without it, you can only live for about three days. But in nature, water often contains harmful bacteria, viruses, and debris. So, knowing how to make safe drinking water when out in the wild is a crucial skill for any outdoor enthusiast.
Disclosure: Posts may contain affiliate links. Purchases made through our links result in a small commission to us at no charge to you. We only recommend products that meet our brand standards based on testing and first hand use by our authors.
Disclaimer: This post covers general methods for making “safe” drinking water in the wilderness, as recommended by government agencies and survival experts. Even in tap water, contaminants like chemicals, bacteria, and heavy metals can pose risks, especially in rural areas. The safest option is always water tested in a lab, but these methods should help you stay hydrated in an emergency.
How To Purify Water in the Wilderness
When it comes to purifying water in the wild, filtering and sterilizing are the two key methods.
Filtering vs. Sterilizing Water for Safety
- Filtering: removes debris and particles.
- Sterilizing: eliminates harmful microorganisms, including bacteria, viruses, and protozoa.
However, in a survival situation, stagnant water might be your only option. In that case, you’ll need to use both filtration and sterilization methods.
Finding Water in the Wild Pro Tip
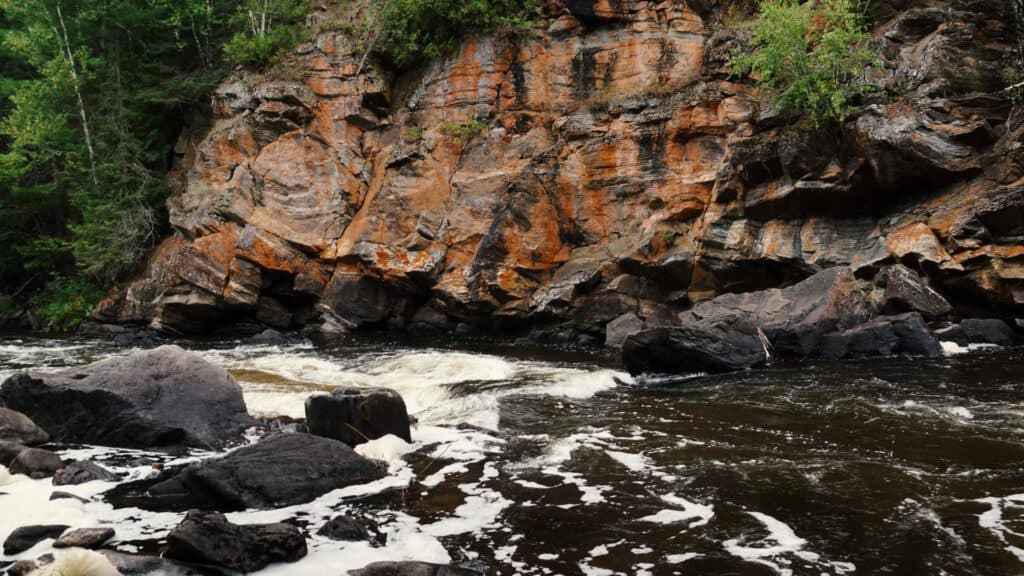
Look for flowing water (like rivers or streams) instead of stagnant water. Moving water tends to be cleaner because it’s less likely to harbour bacteria or pollutants. Spring water, if you can find it, is often the cleanest source as it’s naturally filtered underground.
The Cotton Bandana Filter Water Purification Method – A Quick and Easy Solution
If you’re collecting water from less-than-ideal natural forest water sources, start by filtering it. A primitive and natural water purification technique is to use a cotton bandana (which should be in your survival or hiking kit). Simply drape it over the mouth of your water collection container. This simple technique will catch debris, dirt, and larger particles, giving you a cleaner base to work with.
Once filtered, it’s time to sterilize the water to kill harmful microorganisms and make clean drinking water.
FURTHER READING:
New to hiking? Learn what to bring with you on a day hike and why.
Sterilizing Water in the Wilderness
Sterilizing water kills harmful pathogens, making it safe to drink. There are two primary ways to sterilize water:
Option 1: Boiling Water
Boiling is one of the simplest and most effective methods for sterilizing water. This is how to boil water for safe drinking – according to the EPA, you need to bring the water to a rolling boil for at least one minute. At higher altitudes (over 1,000 meters/5,000 feet), boil for 3 minutes.
The boiling method is chemical-free, and it effectively kills pathogenic bacteria, viruses, and protozoa. It’s a reliable option, but you must be sure to boil the water thoroughly to ensure water safety.
FURTHER READING:
Love the Wilderness? Make sure you always carry a fire starter kit.
Option 2: Chemical Sterilization
In cases where boiling isn’t an option (like if you’re unable to start a fire), chemical sterilization can come in handy. Iodine tablets were traditionally used by the military, but now chlorine dioxide tablets are more common in water treatment. Chlorine is also the main ingredient in household bleach, and it’s effective at killingwaterborne pathogens, bacteria and viruses.
While some people are hesitant to use chemicals, remember that even municipal water treatment is done with chlorine or similar chemicals to make it safe to drink. If you carry Chlor-Floc packs or Aquatabs, these small, portable items can make a big difference in survival situations.
Why Carry Chemical Sterilization for Water?
Sometimes, boiling isn’t feasible. You might be in a wet environment where building a fire is difficult, or you could be in a situation where making a fire would give away your position (e.g., in military or survival scenarios). Chemical sterilization is a compact, lightweight solution for drinking dirty water safely.
I always pack Chlor-Floc or Aquatabs water purification tablets in my survival kit. They take up minimal space and can be a lifesaver when a fire isn’t an option.
Wilderness Water Filtration Containers – The Unsung Heroes of Safe Drinking Water
When collecting water for purification or sterilization, choosing the right container is important.

Double-Wall Water Containers (Like YETI)
Double-wall containers are excellent for retaining hot or cold temperatures, but they’re not ideal for boiling water. Still, if you’re storing already purified water, they’re fantastic.
I personally use the YETI Rambler Bottle, which is perfect for keeping water at the desired temperature. But when it comes to sterilization, you’ll need a single-walled container.
FURTHER READING:
Are YETI Mugs Worth It? Read our YETI drinkware review to see if their worth the cost, and if it’s as durable as they say.
Single-Wall Containers: The Boiling Essential

In your survival kit, always include a single-walled stainless steel container. These are essential because they allow you to boil water directly in the container without worrying about damaging it. I find the Pathfinder Bottle and Nesting Cup Set to be the best container for making safe drinking water, and it is what I use. Not only does it help disinfect water, the entire system is self-nesting, which takes up very little room in your pack.

Gear up with the Pathfinder Bottle, Nesting Cup and Stove Set, your ultimate companion for all your adventures. Crafted with single wall stainless steel construction, this set is perfect for boiling or disinfecting water on the go. With a generous capacity of 32oz, you'll stay hydrated throughout your journey. The foldable heavy gauge handles make it easy to carry and store. Plus, the inside cup graduations allow for precise measurements, making meal prep a breeze wherever you are.
Old-School vs. Modern Methods of Water Purification

While traditional filtration methods like boiling and filtering have stood the test of time, modern water purification systems are easier and faster to work with.
The Easy Way: Katadyn Befree
One of the easiest and most effective backpacking water purification ways to purify water on the go is with a portable water filter like the Katadyn Befree. This lightweight survival water filter system uses micro-filtration to remove up to 99.9999% of bacteria, including protozoa, without any chemicals. I find the Katadyn Befree to be the best water filter for emergencies, as it’s compact, weighs almost nothing and takes very little room in the backpack.
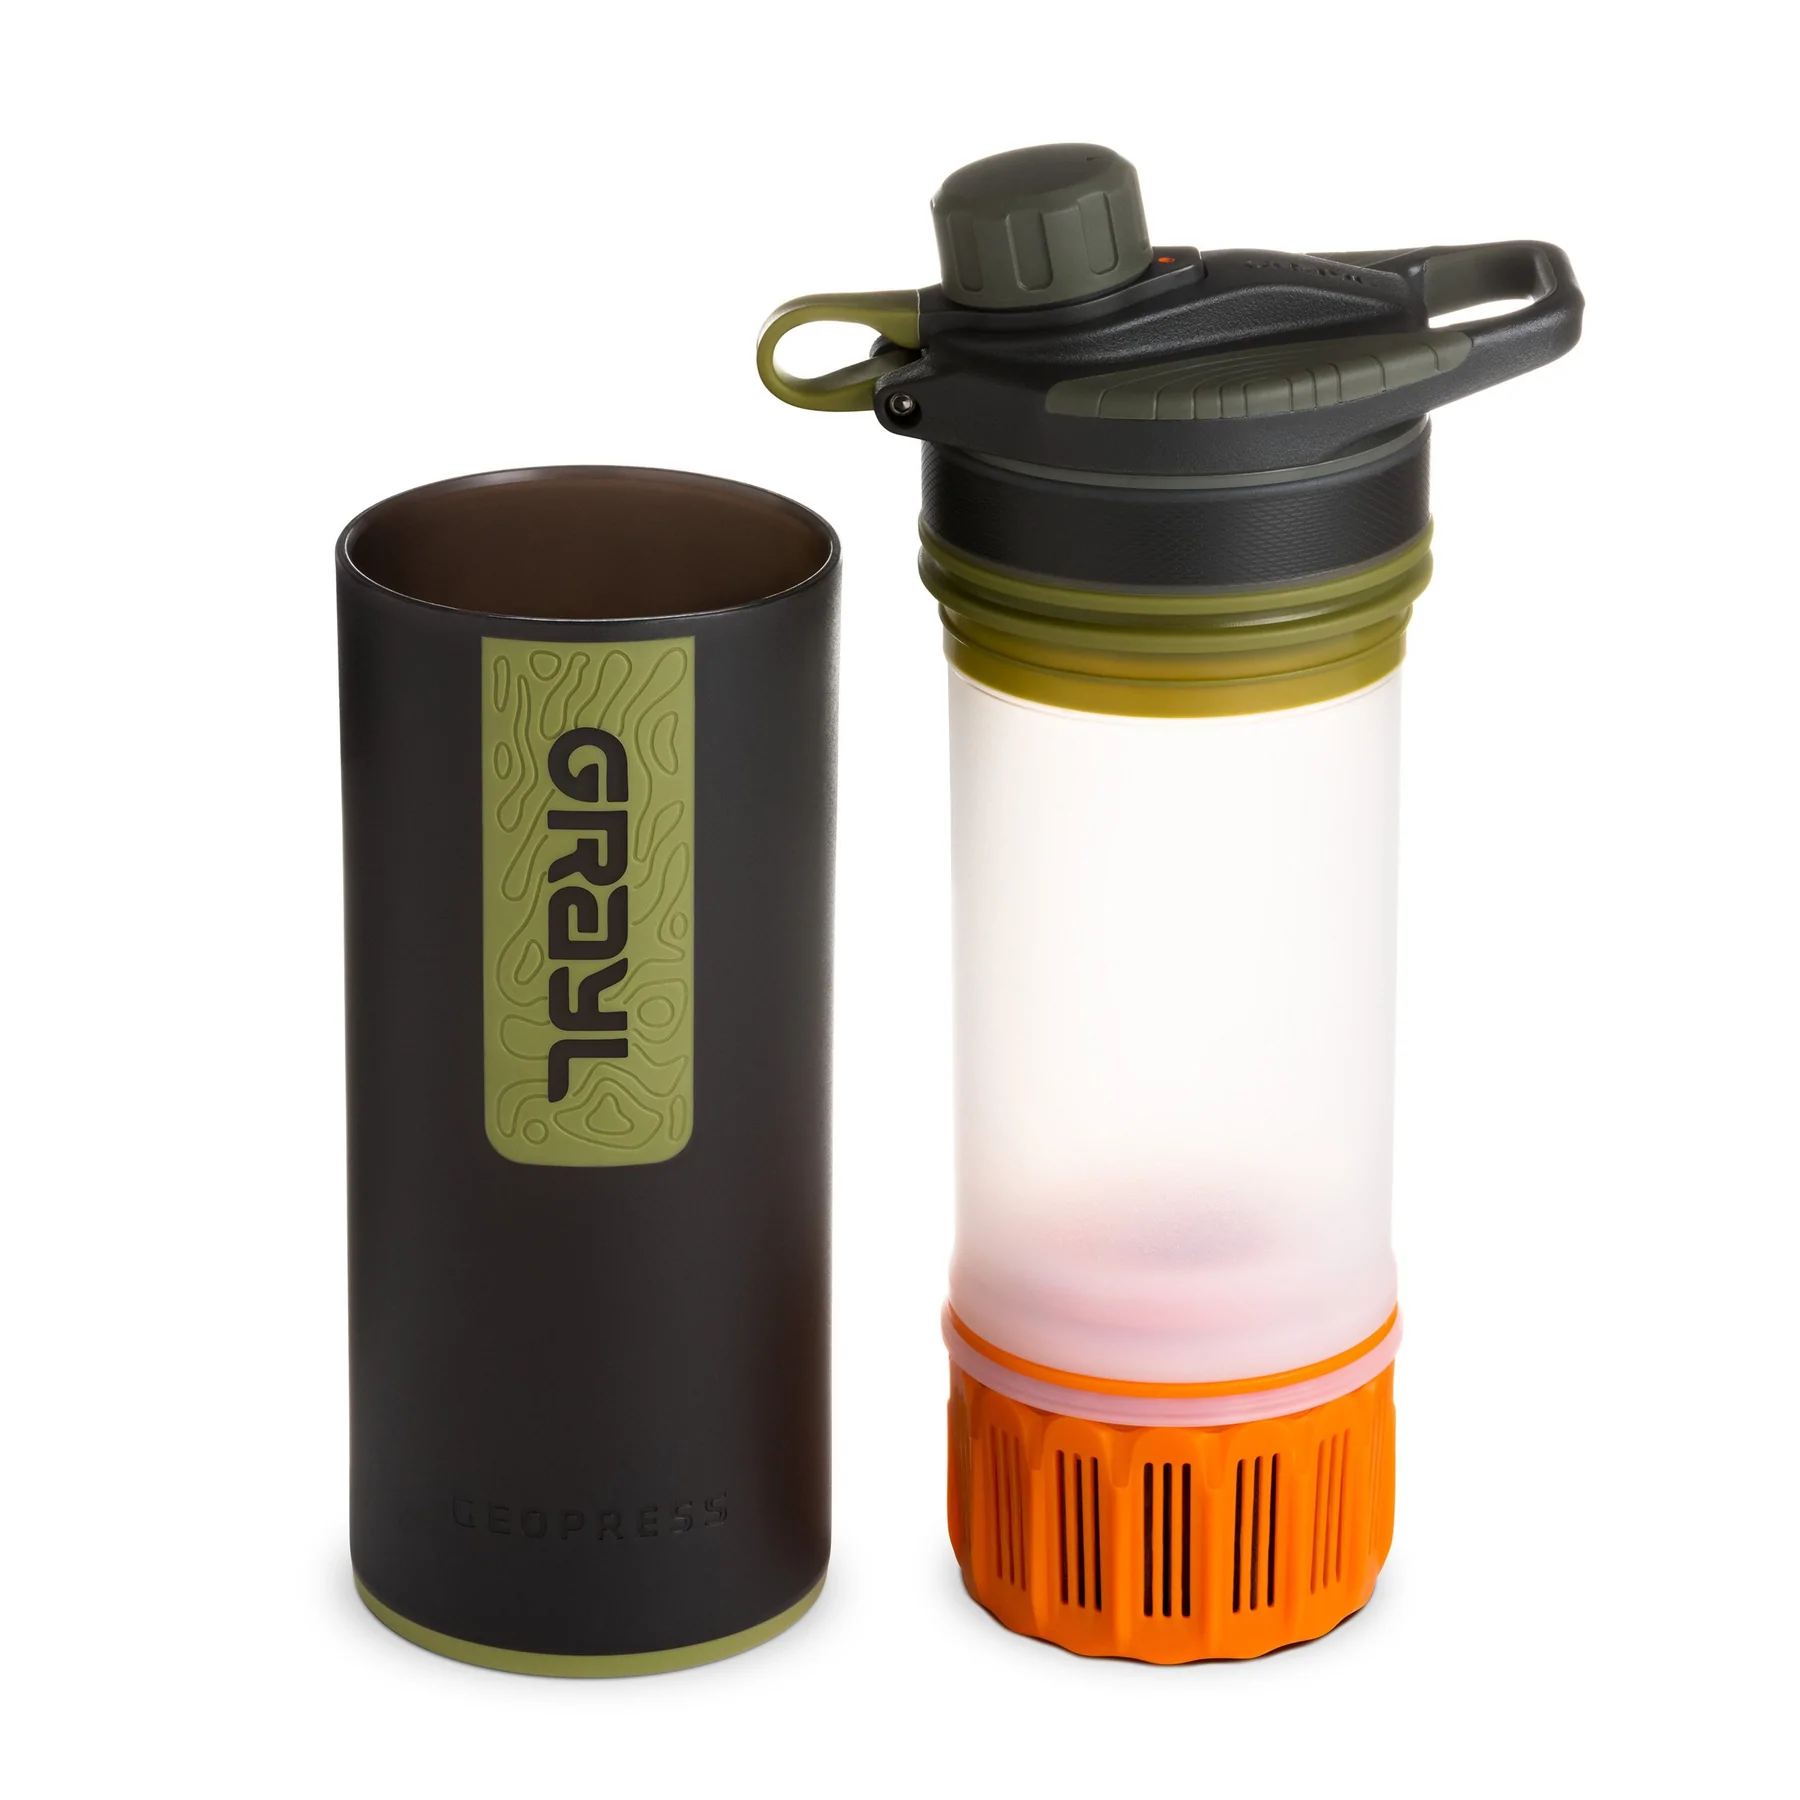
The Grayl GeoPress: High-End Water Purification
If you’re willing to invest in a high-quality filtration system, the Grayl GeoPress is an excellent choice for making emergency water. While it’s more expensive, its performance is unparalleled, providing chemical-free filtration down to 0.2 microns. Its durability and design make it the best water filter for travel, emergency preparedness, and a go-to option for serious outdoor adventurers.


While Katadyn’s filter is good for 1000 litres, the Grayl stops much shorter at 250 litres – but the filter is replaceable. I can personally vouch for both portable water filters as I own and use them myself to make water safe to drink in the wild.
Finding Water in the Wild
Knowing how to purify water is crucial, but you also need to know how to find natural water sources for survival. If you’re struggling to locate water in the wild, follow the animals. Birds, especially low-flying ones, are a great indicator of nearby water sources. You can also look for game trails or observe the terrain for signs of water like valleys or dense vegetation.
Check the Quality of Your Water Source
Before collecting water, always check upstream for signs of contamination – like animal waste or dead animals. If in doubt, move farther upstream away from fecal contamination for a cleaner source.
Key Takeaways for Purifying River / Lake Water in the Wilderness:
- Always filter before you sterilize – remove debris before worrying about pathogens and waterborne diseases.
- Boiling is the best way to sterilize, but chemical sterilization tablets are a good backup.
- Choose the right containers – single-wall containers are essential for boiling water.
- Modern water purifiers like the Katadyn Befree and Grayl GeoPress make water sterilization easier, but the old-school methods still work.
What if You Don’t Have Any Means to Purify Water?
If you’re without any purification tools, you’re in a serious situation. Hopefully, you’ll be heading home soon, but if you’re stuck in the wild and survival is your only option, you need to make some tough decisions.
The clock is ticking, and eventually, you’ll need water. The question is, how long can you last without it? It’s important to recognize the early signs of dehydration so you can act before it’s too late:
Signs of Mild Dehydration
- Extreme thirst
- Less frequent or dark urination
- Dry skin, mouth
- Dizziness, fatigue
Signs of Serious Dehydration
- Rapid breathing or heartbeat
- No urination
- Fainting, shock
- Confusion
If you start experiencing serious dehydration symptoms, it’s critical to take action immediately. In a survival situation, this usually means seeking help – but if you’re alone and far from rescue, you may need to find water fast.
Without water, your mental capacity will diminish rapidly. You’ll need to think clearly and act quickly before dehydration compromises your ability to make good decisions.
The Dilemma: Drinking Unsafe Water
When faced with a lack of purified water, you might be left with contaminated water sources. So, what should you do? There are two schools of thought on this:
- Camp 1: Some believe that drinking unsafe water is better than dying of dehydration. In this case, taking the water, even if it’s contaminated, can buy you time. Many water-related illnesses, like a gastrointestinal illness is treatable, especially once you’re rescued.
- Camp 2: Others argue that drinking contaminated water is never worth the risk. It may make things worse and lead to further health complications.
I can’t tell you what to do in this situation – it’s a deeply personal decision, and the right answer will depend on your circumstances. However, I will say this: it’s always better to be prepared with the proper survival gear and knowledge, so you’re never forced into this kind of decision.
If you find yourself in this situation, you can also make natural water filters for emergency purification. We’ll cover how to do this in a future post, but these survivor filters can significantly improve the quality of water in survival scenarios.
Also, I recommend carrying a Jase Antibiotic Kit in your pack. If you do end up drinking contaminated water, these antibiotics can aid in recovery. Preparation is the key to survival!
FURTHER READING:
Self-Rescue is Sometimes Your Only Option! Learn why an Emergency Antibiotics Kit should be part of your kit today.
The Good News
Luckily, I’ve never found myself in a survival situation where I had to make these tough decisions. The better you prepare your gear and skills, the less likely you’ll ever face this dilemma. It’s all about reducing risk and being ready for anything.
That’s the entire point of this post—preparing for the worst-case scenario by ensuring you know how to make safe drinking water in the wilderness.
FAQs
1. What water is safe to drink in the wild?
Technically, no water is 100% safe to drink. In a survival situation, the safest is fresh rainwater, naturral springs bubbling out of a rock face, high-altitude, fast moving water, or dew collected from non-toxic plants.
2. How do you purify water in the wild with nothing?
There are a few ways of purifying water with no gear – use the Coyote Well method, Hot Stone Boiling method or build an improvised Gravity Filter.
3. Can you drink river water if you boil it?
Yes, only if it’s free from chemical pollution. Boiling cannot remove heavy metals, chemicals, pesticides, and blue-green algae.
4. How long do you boil water to purify it?
For safe drinking water, bring the water to a rolling boil for at least one minute. At higher altitudes (over 1,000 meters/5,000 feet), boil for 3 minutes.
Concluding Making Safe Drinking Water
Throughout this site, I emphasize the importance of carrying multiple ignition sources to make fire — at least three. This is standard advice for serious outdoors enthusiasts and is a core principle in military survival training. Just like fire, water is essential to life.
As you venture into the wilderness, make sure your survival water purification kit includes these four essential items to make water drinkable in the wild:
- A cotton bandana (for filtering debris)
- Sterilizing chemicals (like Chlor-Floc or Aquatabs)
- A single-wall bottle for boiling water
- An all-in-one water filter (like the Katadyn Befree or Grayl GeoPress)
With these four tools, you have multiple ways to purify water. In a survival scenario, your ability to create safe drinking water is just as important as making a fire. Don’t take chances when your survival depends on it, water is as essential as fire.
More Survival Skills from BushLife:
- Day Hiking Essentials: water filter is an essential even on a short day hike
- Remote Survival Pack: where the water filter and tablets live
- How to Use a Ferro Rod: a wilderness life skill worth learning
- Land Navigation: magnetic declination affects the way you navigate
- Fire in the Snow: a winter survival skill worth mastering
👉 If you found this post helpful, consider sharing it with others. The more people who know how to make safe drinking water in the wild, the better equipped they’ll be to survive. Thank you for reading, and stay safe out there!
Bookmark this post on Pinterest for future reference!


